This post contains affiliate links, meaning I get a commission if you decide to make a purchase through my links, at no extra cost to you. Please read my disclosure and privacy & terms for more info.
It’s that time of year again. Summer is around the corner and for many that means CAMPING SEASON!
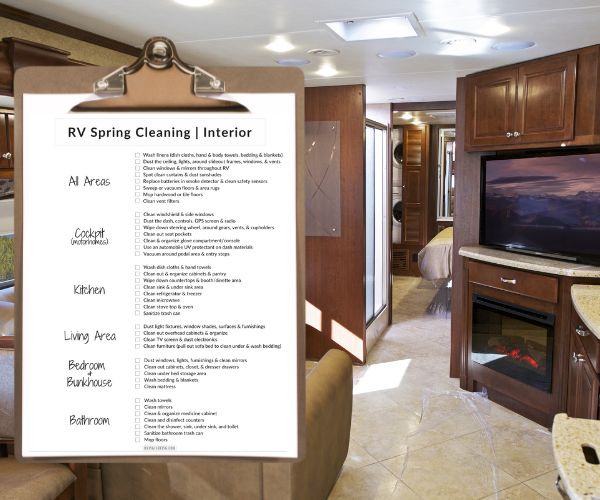
Time to take the camper out of storage, get it ready for the season, and give it a good deep clean.
First things first, before stocking up for summer, a deep clean needs to be done.
When deep cleaning, every cabinet and cupboard gets opened, inventory is taken, and unused items are removed. A good rule to follow, is if it wasn’t used last camping season, it’s out of there!
Doing a deep clean is also a good time to inspect the interior for any damage that may have occurred over the winter, as well as check for signs of critters that have found their way inside.
Be sure to refer back to your owner’s manual for interior care guidelines along with cleaning products appropriate for RV materials.
Supplies You May Need:
- Duster
- Microfiber cleaning cloths
- Cleaning gloves
- Foldable gallon bucket
- Trash bags
- Window cleaner
- Mild detergent
- RV-safe anti-bacterial multi-surface cleaner
- RV kitchen & bath cleaner
- RV toilet bowl cleaner
- Toilet brush
- Holding tank treatment
- UV protectant wipes
- Broom & dustpan
- Vacuum
- Swiffer Sweeper/mop
- Laundry detergent (for washing bedding)
- Hanging moisture absorbers
Please refer back to your RV Owner’s Manual regarding products that are safe and recommended for your motorhome or travel trailer components.
Keep in mind, to use water, run a cleaning cycle on the washer, or do a load of laundry in the RV– you must be hooked up to water and sewer, (or have enough freshwater and space in the holding tanks to do so).
First, open up the windows to do a fresh air exchange. This gets the stale air out and will also help our lungs as we kick up months of dust while spraying cleaners!
Then, get a garbage bag ready for any trash along the way.
Next, delegate a bin for “unneeded items”. These are items not meant for the trash, but that you don’t want in the RV either. Remember, space is limited in a camper. If you didn’t use something last camping season, get it out of the camper!
Linens & Bedding
Get a load of laundry going. Remove all linens and strip bedding. Remember, if you wish to do a load in your RV you must be hooked up to water and sewer, otherwise have water in the tank and an empty gray water tank. Also, before using the washer this season, consider running a cleaning cycle first.
Dusting
Start from the front and work your way back or vice versa.
Either way, I suggest to dust first, so that any dust that falls down will be wiped away after.
Dust the ceiling, around the interior slideout frames, around windows, curtains/sunshades, ceiling fans and ceiling vents. In addition, dust around lights, fixtures, and decor.
While dusting, keep an eye out for discoloration or any signs of water damage, especially on the ceiling.

A Swiffer Duster 360 Heavy Duty Super Extender can help dust hard to reach areas.
Cockpit (for motorhomes)
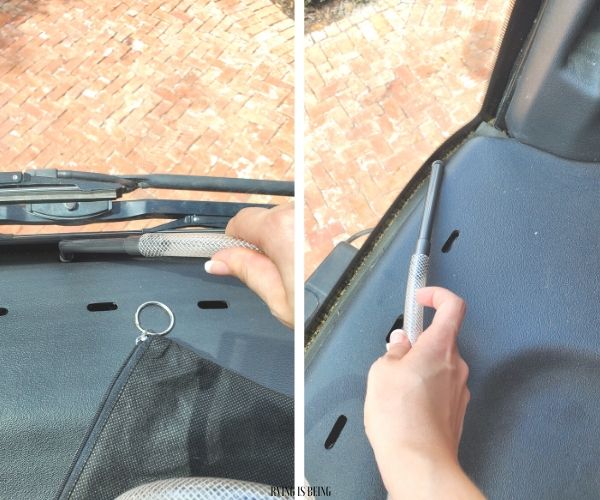
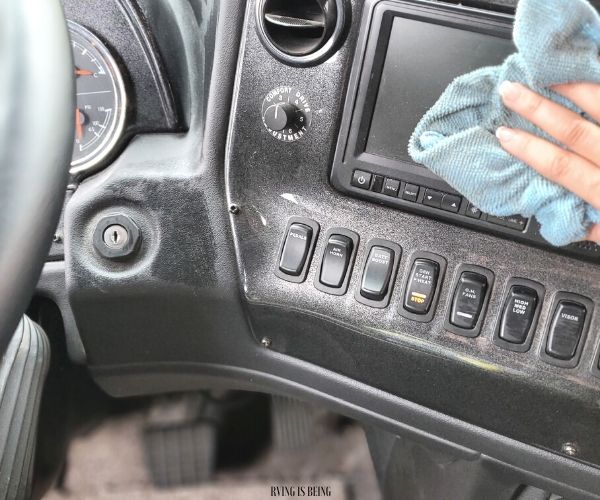
Dust around the dash, gears and buttons, vents, and compartments.
A hand vacuum with small attachments can greatly help suck the dust out of small cracks and crevices in dash areas.
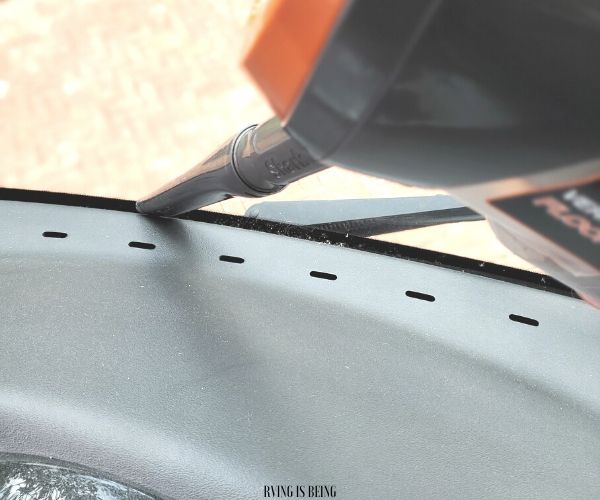
The Shark Rocket Ultra-Light Vacuum with the Home and Car Detail Micro Tools Kit— is perfect for cleaning the tiniest spaces.
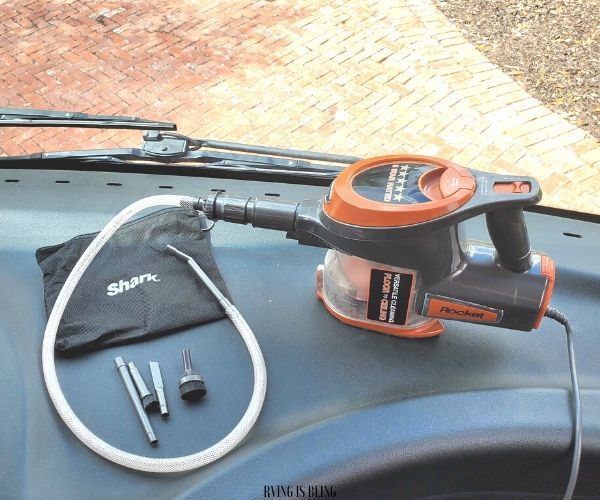
The Micro Tools Kit fits into cracks and crevices where the regular wand can’t reach.
After dusting the cockpit, clean the windows with glass cleaner. Most RV manuals recommend an ammonia-free glass cleaner.

Use a soft cloth for dusting and cleaning. Microfiber Cleaning Cloths are non-abrasive, can be used wet or dry, and really seem to pick up dust, dirt, and grime well.

Clean around the dash, gears, buttons, steering, vents, and cup holders. Use an RV-safe dash cleaner (automobile interior cleaner) or a mild detergent with lukewarm water.
303 products are a popular choice for recreational vehicles by featuring powerful UV blockers to prevent materials from fading and cracking. It’s anti-static– repelling smudges, dust, soiling and staining. (Safe for vinyl, gel coat, fiberglass, carbon fiber, synthetic/natural rubber, plastics, and finished leather.)

It’s important to use a gentle cleaner with RV materials such as panels, laminates, countertops, and floors. Some harsh and abrasive cleaners may not be compatible with your camper and can damage surfaces as well as affect plumbing if washed down the sink, toilet, or shower. Be sure to refer back to your owner’s manual for this.
Clean out compartments, consoles, or cabinets around the driver’s and passenger’s area and organize. Don’t forget the seat pockets!
Vacuum around the driver and passenger seats, steps, and shake out any entry rugs. If the motorhome cockpit seats are fabric, lightly vacuum to prevent an accumulation of dirt. If you have entry step mats or covers, they can, most likely, be washed outside with water and dish soap. (Be sure to check the care instructions.) Rinse, and let them fully dry outside. The new year may be time to splurge on new rugs and entry step mats. I know ours sure gets worn through a camping season!

Living Room
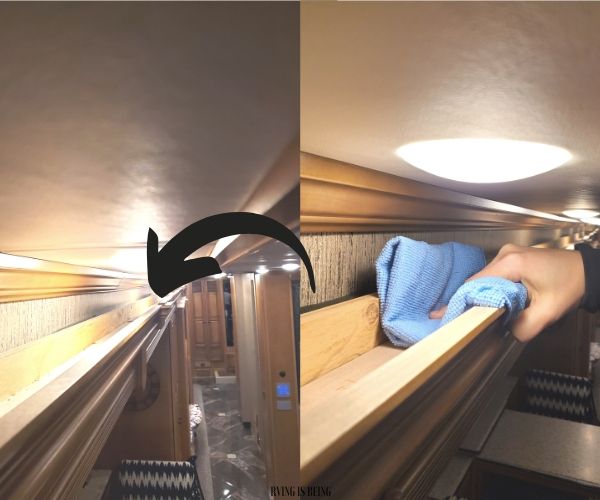
When dusting around slideouts, pay special attention to the interior slide frames. Ours, for instance, has a lip near the ceiling that catches all kinds of dust and bugs! A dry microfiber cloth does a great job picking up dust and dirt.
Remove AC vents and clean filters. (All systems are different. It is important to refer to your owner’s manual for proper maintenance and cleaning.)
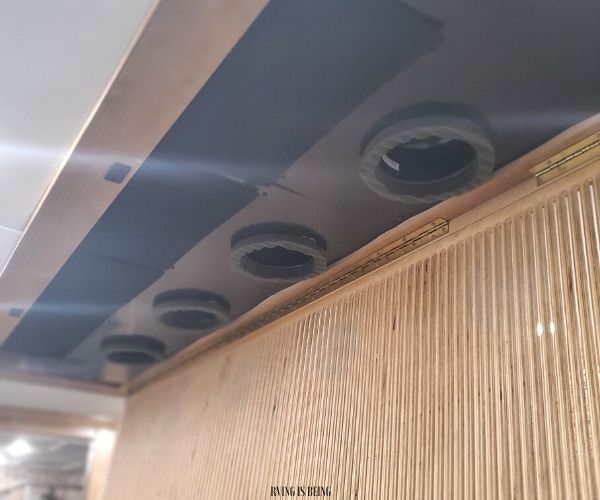
I clean around the vents with a damp cloth and rinse out the filters a few times with water. If needed, replace your filters.

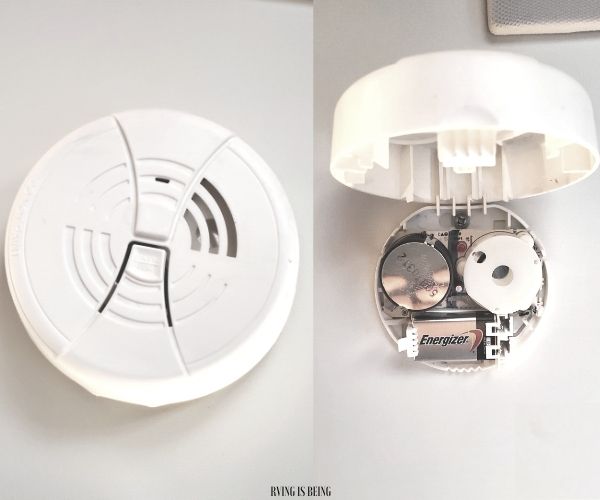
While you have the ladder or step stool out, now is also a good time to test the smoke detector and replace the batteries or maintain as directed by the manufacturer.
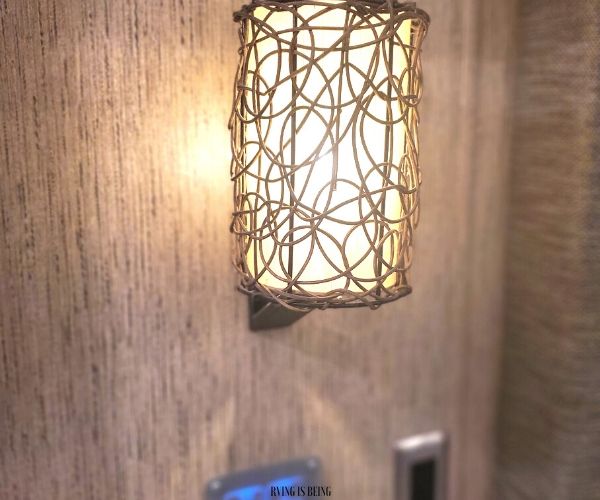
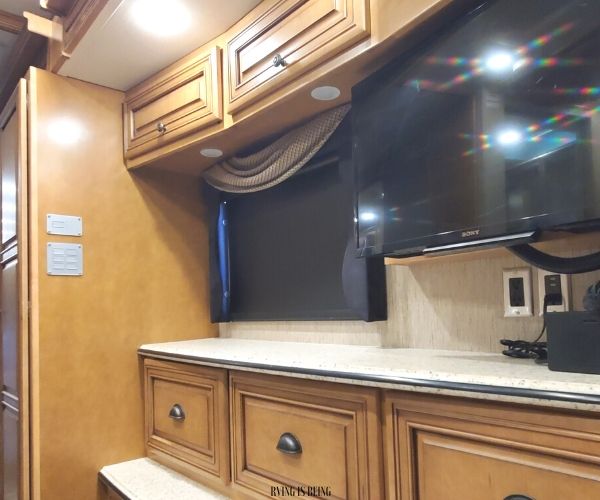
Be sure to dust or vacuum in the tight areas around the windows, window shades, wall lighting/sconces, television, countertops, and fixtures.
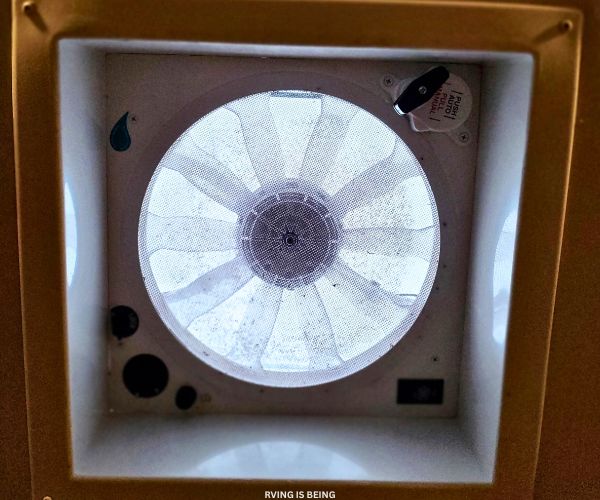
Don’t forget to clean out the ceiling fans. These easily trap bugs and dust. Test and make sure they are in good working order for the camping season. Replace if needed.

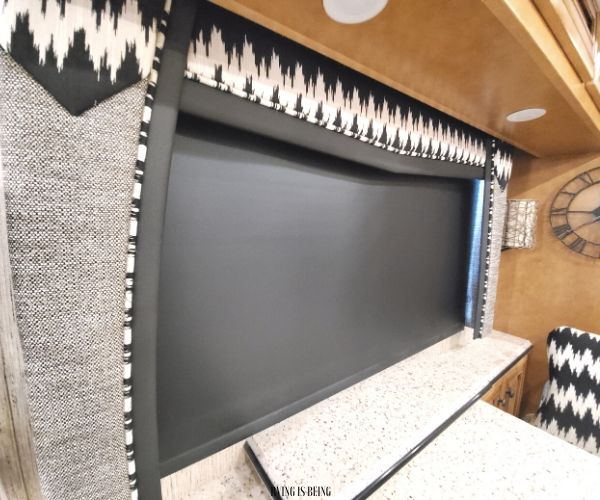
After dusting, wipe down light fixtures, window shades, and ledges where dust really clings with a damp cloth. Be careful of window treatments, curtain, shade, or valance material. Our owner’s manual instructs to dry clean only. As dust clings heavily to these, I hand dust, carefully vacuum, and wipe with a damp cloth.
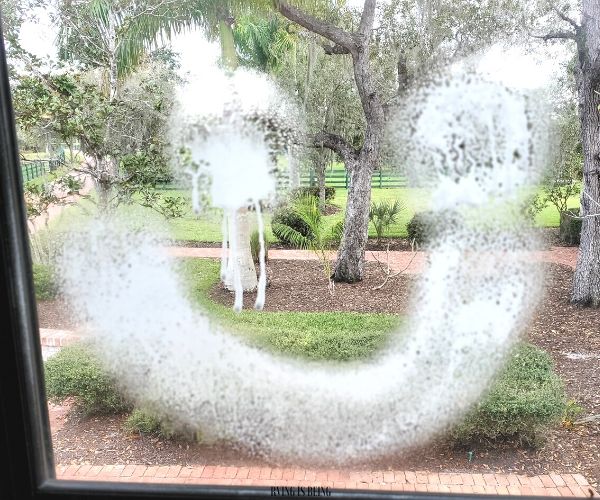
Clean all windows and mirrors with a glass cleaner.
Clean your RV furniture. Use a damp cloth to wipe down sofas (if leather or like-material). Make sure to get in between and under the cushions and vacuum if needed. If your family is like ours, you’ll find a few items that went missing during the summer months… (Use a furniture cleaner if recommended by your manufacturer.)
For fabric furniture, vacuum thoroughly to remove the dust– getting into all of the cracks and crevices and spot-clean as needed. Pull out the sofa-bed and toss any bedding to the side and vacuum inside the sofa-bed area.
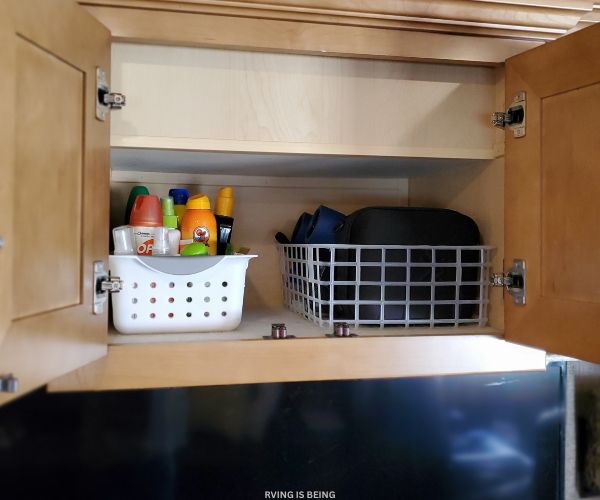
Wipe down the overhead cabinets (open each cabinet to do inventory and organize), ledges, and TV area. Wipe over or vacuum the CO and propane detectors with a dry cloth only, being careful not to spray any cleaners around the detector as it may cause false alarms or affect its performance.
Disinfect heavily touched items: remote controls, light switches, cupboard handles, etc.
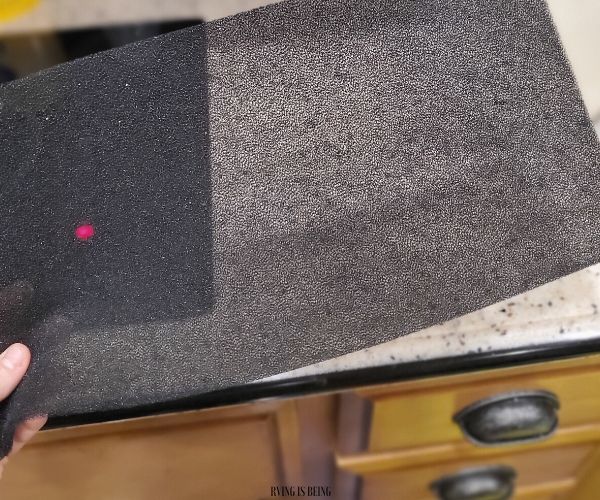
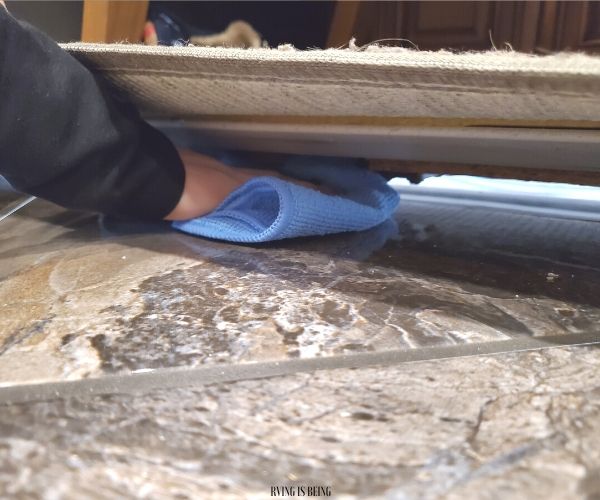
Dirt can get trapped between the floor and under the slideouts. While slide mechanisms all differ, our slideouts roll out and drop into place, becoming flush with the floor. To deep clean, I temporarily retract the slides just enough to lift the slide up and off the floor. As you can see, it creates a crack to the outside so that sand, gravel, or small rocks can be wiped out from under this area. (Rather than sticking your arm in here, like my poor choice below, use a Swiffer or extendable duster to safely reach in between here.)
Vacuum or wash area rugs and replace if needed.
Make sure to be tossing out and taking inventory of things needed as you go!
Kitchen
Dust away ceiling cobwebs, the ceiling fan, along the slides, around the windows, and over curtains or sunshades.
Clean kitchen windows with a glass cleaner.
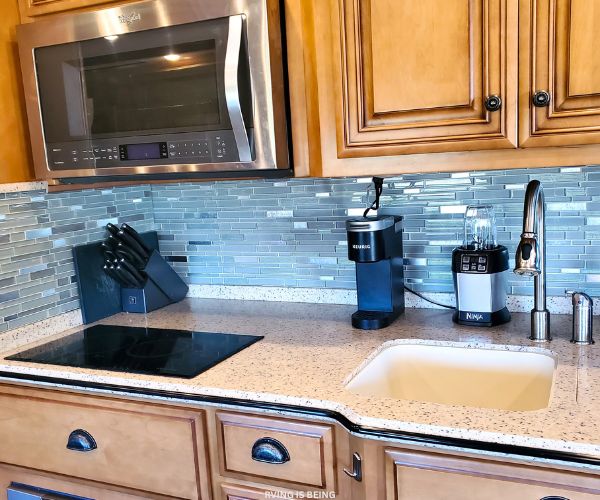
Wipe down the countertops and table or booth area making sure to clean under the booth cushions and/or in dinette storage areas.
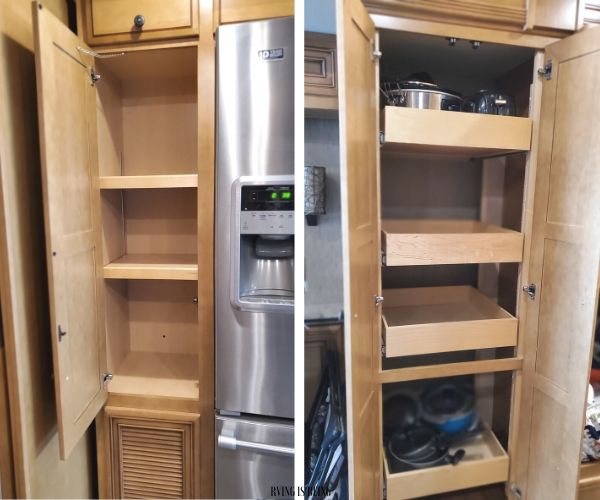
Go through the pantry and kitchen cabinets, wiping down shelving and organizing kitchen cookware and utensils. If the inside of cabinets get too grimy during winter storage, you may want to rewash pots and pans, dishware, and cutlery.
Clean the microwave, stove, and oven.
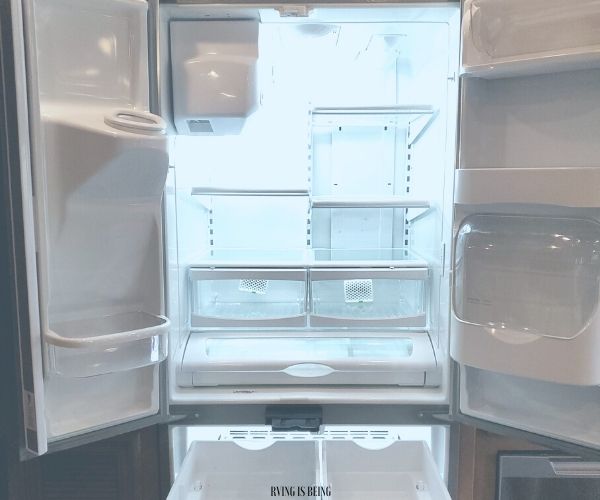
Clean out the refrigerator and freezer. Wipe down or if needed, take out shelving in the refrigerator and wash. Let stuck on foods or sticky liquids soak a few minutes before scrubbing off. Use a toothbrush for hard to reach areas in these appliances. For scuffs or marks that won’t budge, gently try Mr. Clean Magic Eraser Sheets.
Clean the kitchen sink. Thetford Aqua-Clean Kitchen and Bath Cleaner is ideal for this. It is safe for plastic, fiberglass, and porcelain surfaces in RVs.
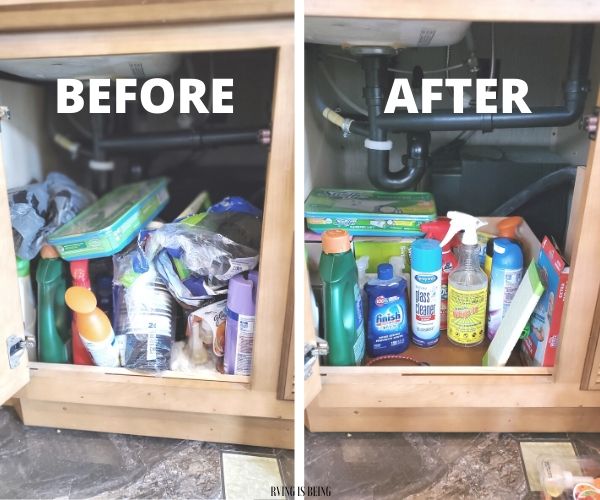
Organize under the sink area. Is it just me or does this cabinet always get out of control?! Also, check for any leaks!
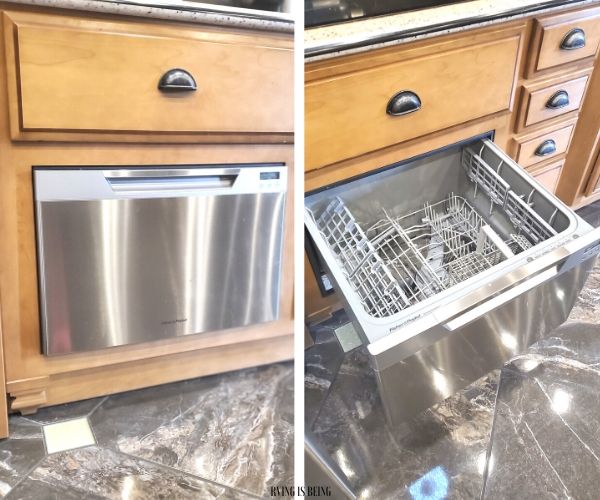
If your RV has a dishwasher (eye roll…I know… If you couldn’t tell, we are Glampers. There’s definitely no “roughing-it” here!), now is a great time to run a cleaning cycle through it with Finish Dishwasher Cleaner. (Make sure to be hooked up to water and sewer for this.)
Clean and disinfect the kitchen trash can.
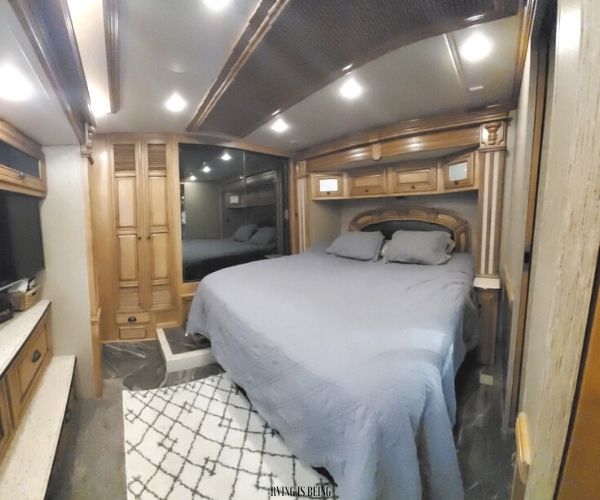
Bedroom/Bunkhouse
Just as you did in the kitchen and living area, dust the ceiling, vents, around slides, windows, television, closet area, and lighting.
Clean windows and mirrors.
Wipe down shelving, dressers, and drawers. Take inventory and remove unnecessary items.
Vacuum area rugs, inside closet area, and under the bed storage area.
Place moisture absorbers in closets to help protect your RV from mold, mildew and moisture damage.
Bathroom
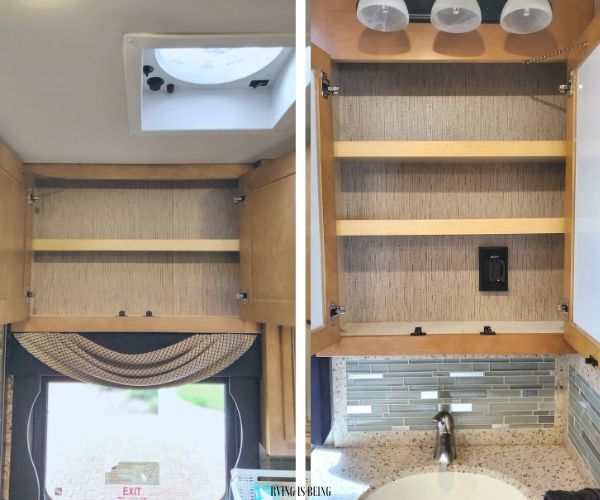
Dust the ceiling, vents, bathroom fan, and around the window.
Clean the window and mirror.
Clean the inside of the medicine cabinet. I like to pull everything from these cabinets and vacuum inside because it is lined with carpet material. It also gives me a chance to go through items one by one, replacing toothbrushes, toothpastes, restocking allergy meds, replacing bug bite creams, and tossing expired or unneeded toiletries.
Clean the sink and sink area. A cleaner like, Thetford Aqua-Clean Kitchen & Bath Cleaner is safe and powerful for cleaning RV countertops, sinks, showers, and toilets.

Likewise Mean Green Anti-Bacterial Multi-Surface Cleaner kills 99.9% of germs, disinfecting and deodorizing surfaces that are touched every day. It does not contain bleach, harsh acids, or phosphates.

Clean under the sink and be sure to keep an eye out for any leaks.
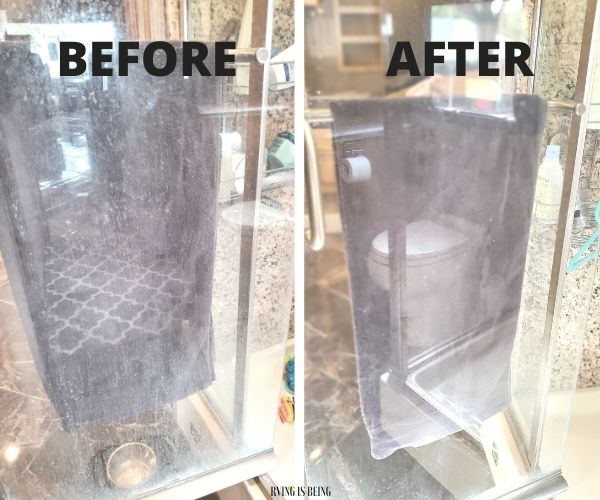
Clean the shower with a bathroom cleaner and rinse. Glass showers are quick to look scummy with water spots and foggy glass panels. To prevent this, use a squeegee after showers, like the Command Bath Shower Squeegee and Small Hook. Discard any old shower products. In fact, it may be time to replace shampoos, soaps, razors, loofahs, or shower sponges.
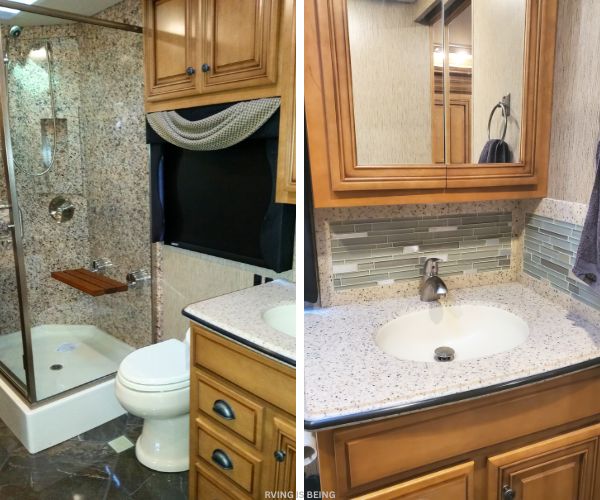
Clean the toilet with toilet bowl cleaner and a soft brush.
RVs contain either porcelain or plastic toilets. Keep in mind, certain household cleaners can have high concentrations of bleach and other harsh chemicals. This can be very hard on RV toilets, sinks, and showers that are plastic materials while eventually damaging the plumbing systems made of soft rubber and plastic seals. At the same time, a highly abrasive brush can scratch plastic surfaces in the sink, shower, or toilet.

Therefore, an RV-safe cleaner is crucial for bathroom materials.
Consider products like:
- Thetford Aqua-Clean Kitchen & Bath Cleaner
- Star brite Toilet Bowl Cleaner – Marine & RV Formula
- Thetford Aqua-Foam-Porcelain and Plastic Toilet Cleaner
- Unique RV Toilet Cleaner
Accordingly, a seal lubricant like Thetford Toilet Seal Lubricant & Conditioner works with RV or marine toilet systems by protecting seals through lubricating the plumbing and preventing waste from sticking.
Allow plenty of water to rinse down any cleaners you have used in the sink, shower, and toilet. After cleaning, empty the gray and black tanks so that cleaners are not sitting in there. Once emptied, fill up the black tank with a couple gallons of water and add your holding tank treatment.
Clean and disinfect the bathroom trash can.
Wash bathroom rugs and replace if needed.
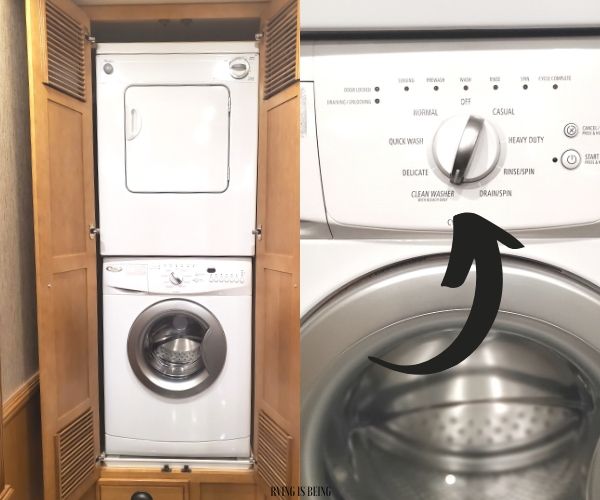
Washer/Dryer
If you have a washer and dryer or washer/dryer combo in your RV, you’ll want to clean before running a load. Run a cleaning cycle or check with the manufacturer how to do a deep clean.
Vacuum, Swiffer or Mop
Vacuum and Swiffer (or mop) the motorhome or trailer floors if hardwood or tile. A Swiffer Sweeper is RV-friendly and collapses down to be stored in a small cleaning cabinet. With dry and wet attachments, it’s basically a broom and mop all-in-one.
There’s Swiffer compatible options that allow RVer’s to reuse or use their own cleaning products they prefer. For example, these mop pads are reusable, washable, and can be used wet or dry with whatever cleaning product you choose.
A vacuum like the Shark Rocket Ultra-Light Vacuum works well for larger RV units. It’s a powerful stick and handheld vacuum that can quickly clean a room as well as hard to reach areas.
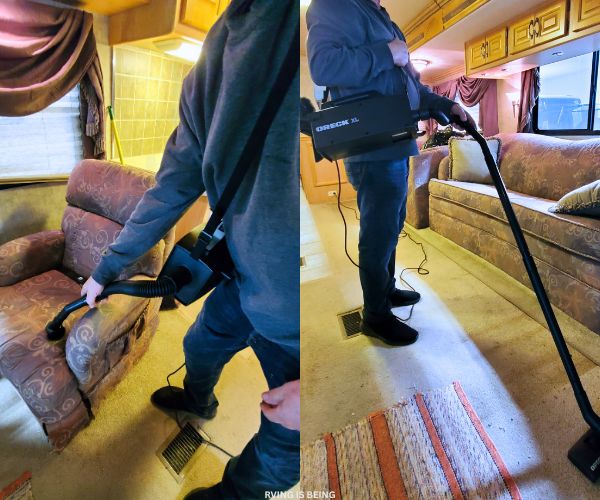
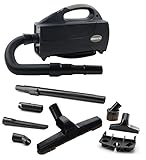
Another great vacuum worth noting, is the Oreck Compact Canister Vacuum. Its slim design weighs less than 5.5 pounds and captures at least 99.97% of particles with an efficient filtration system. With on-board tools you can clean hard to reach areas, upholstery, and more with ease. A unique feature is that this vacuum doubles as a blower. With the switch of a hose, you can go from vacuuming to blowing away dirt particles cleaning out every nook and cranny.

Maintaining Mattresses
Mattresses collect dust, allergens, odor, and possibly mold, bed bugs, or dust mites! Due to this, I highly recommend a mattress protector to help keep mattresses clean and in tip-top shape. The SafeRest Premium Hypoallergenic Waterproof Mattress Protector protects against dust mites, fluids, perspiration, allergens, and bacteria.
To clean soiled or heavily stained mattresses or foam toppers, mix up eight ounces of hydrogen peroxide, two to three tablespoons baking soda, and two drops of dish soap in a spray bottle. Spray all over the mattress and heavily on dirty areas. Let this sit overnight and dry. It’s best to repeat the mixture again the following day. Spray again and let it dry throughout the night. Once dry, thoroughly vacuum up the dry baking soda, dust, and other particles.
Moisture Prevention
Place moisture absorbers in closets, the kitchen, and bathroom areas to help protect your RV from mold, mildew and moisture damage.
RVING IS BEING squeaky clean for the camping scene!