This post contains affiliate links, meaning I get a commission if you decide to make a purchase through my links, at no extra cost to you. Please read my disclosure and privacy & terms for more info.
Time to tear down and head out!
Don’t be one of those campers with their satellite still raised or their power cord dragging while they’re hauling down the highway!
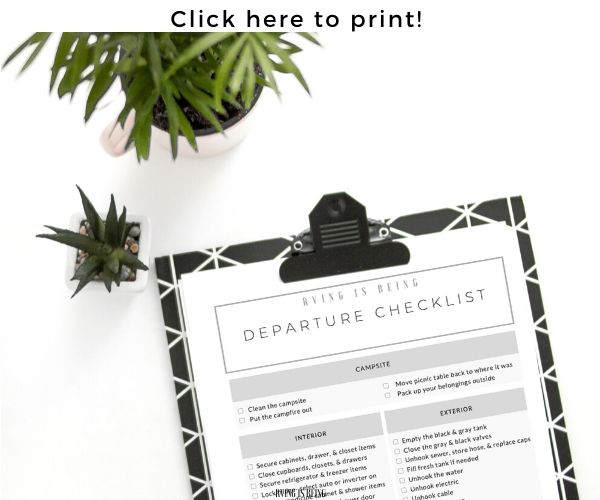
Follow this tear-down and departure checklist for a safe and easy takeoff.
Campsite
1. Clean the campsite. Gather all of the trash and take it to the dumpster.
2. Make sure the campfire is completely out.
3. Move the picnic table back to how you found it.
4. Pack up all of your belongings outside and stow in the cargo.
5. Secure your bikes on the bike rack.
Exterior
6. Empty the black tank first and then the gray tank.
7. Make sure the gray and black valves are securely closed.
8. Disconnect the sewer hose and store, place the sewer cap back on the campsite sewer inlet. Also, cap the sewer valve on your RV.
9. Fill the fresh water tank, if needed. (Some campers empty this for weight reasons, however, we’ve unexpectedly had to boondock for the night. Having water on board in similar situations can be beneficial!)
10. Disconnect from the water spigot and pack the water hose. (Don’t forget your water pressure regulator!)
11. Disconnect from shore power and store the power cord and adapters.
12. Disconnect the coaxial cable and stow.
13. Turn off the propane.
14. Retract the awning.
15. Check for slide clearance. Retract slideouts.
16. Retract the entry steps.
17. Retract the stabilizer jacks.
18. Hook up the trailer to the tow vehicle.

19. Connect sway bars (if applicable) and safety chains.
20. Connect the 7-way trailer connector.
21. Connect the breakaway cable.
22. Retract jacks.
23. Remove and stow chocks, blocks, and levelers.
24. Check tire pressure.
25. Do a light check: headlights, turn signals, brakes.
26. Close, latch, and lock all outside compartments.
27. Lock the entry door.
Interior
28. Stow all loose objects, appliances, and gadgets: coffee maker, toaster, cutting board, dish rack, remotes, decor, etc.
29. Secure cabinets, cupboards, drawers, closets, and the shower door. Make sure they are latched tightly.
30. Secure items in the refrigerator and freezer, then close and lock.
31. Latch and secure pocket doors.
32. Place the sink cover and stove cover on.
33. Strap down the TV.
34. Strap down the dinette chairs.
35. Lower the antenna or satellite.
36. Confirm exhaust fans and roof vents are closed.
37. Close and lock all windows. Shut the shades for sun exposure and heat.
38. Ensure the water pump is off.
39. Turn the furnace or AC off.
40. Turn the hot water heater off.
41. Once disconnected from shore power, ensure the refrigerator is back running on propane.
42. Roll up and stow area rugs.
43. Take the trash out.
44. Turn the lights off.

Tow Vehicle/Motorhome
45. Check that children and pets are secure for the ride.
46. Pack a travel caddy to have close by. (Snacks, drinks, phone chargers, hand sanitizer, a trash bag, wallet, sunglasses, napkins, pet water dish, dog poo bags, leash, etc.)
47. Program directions in the GPS.

48. Adjust mirrors.
49. Check fuel and DEF levels.
50. Clean the windshield.
51. Verify you have all of the keys (RV set(s) and the toad).
Final Walk Around
- Check that all slides, windows, doors, antennas are secure.
- Scout out a campsite exit plan.
- Warm up the vehicle.
- Have a spotter standing outside when exiting the campsite, if needed.
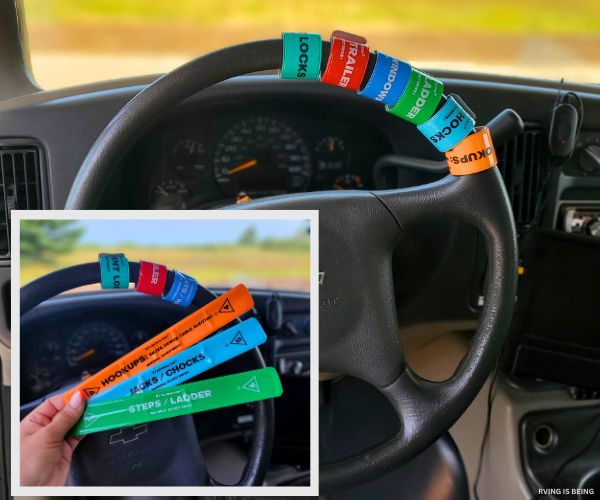
Help prevent costly mistakes with RVminders! Slap against the steering wheel to remind you of important step-by-step arrival or departure tasks.
Be sure to check out the RV Arrival and Setup Checklist!
RVING IS BEING ready for the road ahead.
Related posts
Today's pick
Hot topics
Disclosure: This website contains affiliate links, meaning we will get a commission if you decide to make a purchase through the links, at no additional cost to you. Additionally, this website is an Amazon Associate. As an Amazon Associate, the owner of this website earns a commission as a result of certain qualifying purchases. CERTAIN CONTENT THAT APPEARS ON THE SITE TO WHICH THIS SITE LINKS ARE AFFILIATE LINKS. THIS LINKED CONTENT IS PROVIDED “AS IS” AND IS SUBJECT TO CHANGE OR REMOVAL ANY TIME. Please read this Site’s disclosure and privacy policy & terms for more information.
Categories
- Children & Family (15)
- Cookout Gear & Accessories (6)
- Food (2)
- Guide (37)
- Health (5)
- Holidays (10)
- List (10)
- Maintenance & Repair (10)
- Printables (4)
- Products & Accessories (40)
- Quote (3)
- RV & Campsite Setup (23)
- RVING (78)
- Shop Page (36)
- Storage & Organization (2)
- Tech (4)
- Travel (22)


